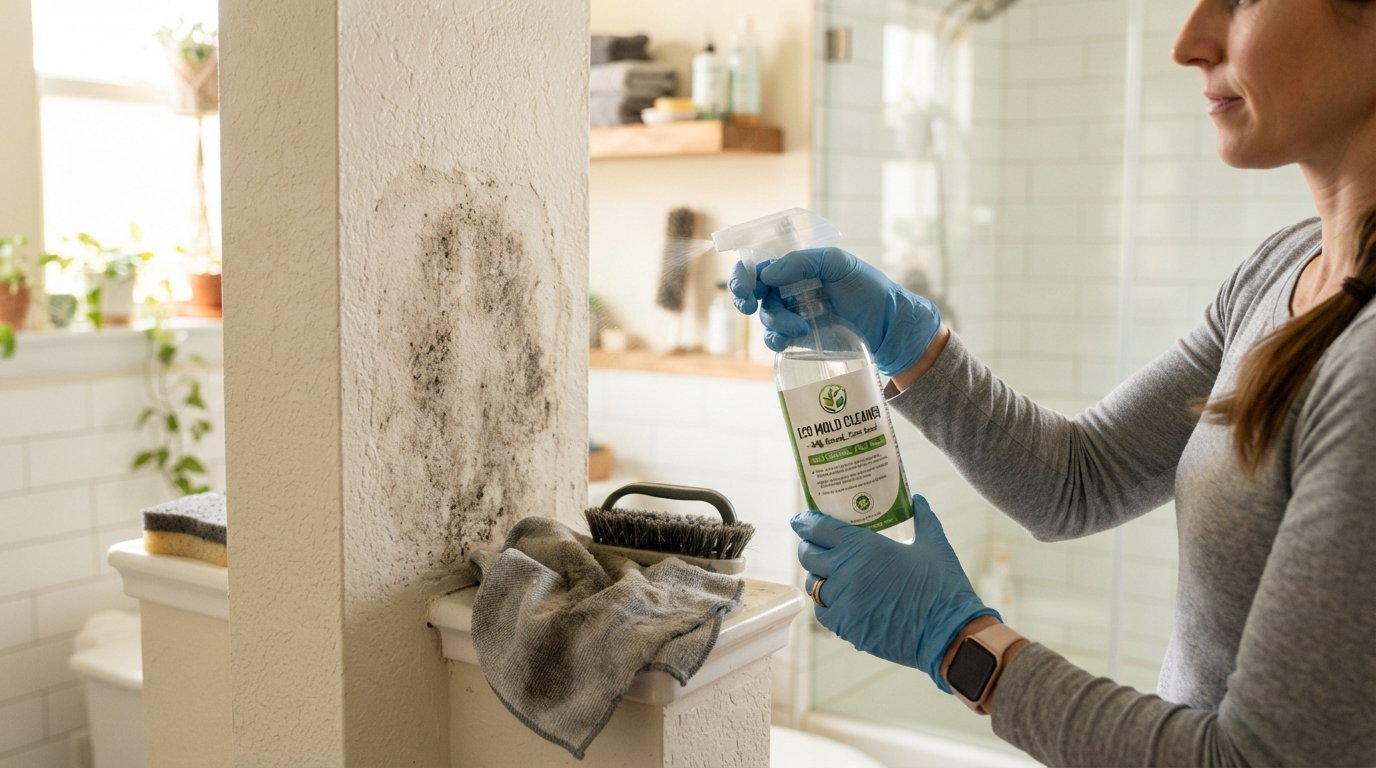
Mold can be a serious issue in your home, especially in warm and moist areas like bathrooms, kitchens, and basements. It thrives in these environments, causing not only unpleasant odors but also potential health risks. Allergies and respiratory problems can arise from exposure to mold spores, making it essential to address this problem promptly.
This guide offers effective tips for tackling mold while ensuring your safety. You will learn the importance of controlling moisture and stopping water intrusion. These steps are crucial for preventing future growth. Simply wiping away visible mold isn’t enough; understanding the underlying issues is key.
Additionally, we will discuss protective equipment, safe cleaning solutions, and proper disposal methods. Following the latest guidance from The Home Depot, updated in February 2025, will help you navigate the process effectively. Remember, safe removal starts with assessing the affected area and determining if the situation is manageable on your own.
Key Takeaways
- Mold thrives in warm, moist environments like bathrooms and kitchens.
- Controlling moisture is essential for preventing future growth.
- Understanding the problem is more important than just cleaning visible mold.
- Protective gear and safe cleaning solutions are crucial for your safety.
- Assess the situation before deciding if it’s a DIY project.
Identify Mold and Check the Affected Area
Damp spaces in your home can invite mold, posing risks to health and safety. Start by looking for visible signs of growth. Mold often appears as green, black, or white dots. You might also notice a persistent musty odor in the air.
Pay close attention to areas like bathrooms, kitchens, and basements. These spots are notorious for moisture accumulation. If you see fuzzy or slimy patches, it could be a sign of mold growth.
- Inspect walls, ceilings, and windowsills for discoloration.
- Check tiles and carpets for stains or dampness.
- Look for signs of water damage, such as swelling or crumbling drywall.
Next, trace the source of any moisture. This could be plumbing leaks, condensation, or recent flooding. If you find a small surface patch, it might be manageable. However, widespread growth or serious damage indicates a larger problem.
| Type of Mold | Appearance | Common Areas |
|---|---|---|
| Black Mold | Dark green or black spots | Bathrooms, basements |
| White Mold | White, powdery patches | Windowsills, damp areas |
| Green Mold | Fuzzy, circular spots | Kitchens, bathrooms |
Protect Yourself Before Cleaning Mold
Protecting yourself during mold cleanup is vital for your well-being. Before you enter any contaminated area, ensure you have the right gear. The CDC recommends wearing a NIOSH-approved N95 respirator, gloves, and sealed goggles. This equipment is essential to block dust and small particles, including harmful mold spores.
Choose gloves made from non-latex, vinyl, nitrile, or rubber. Avoid touching any moldy surfaces with bare hands. Additionally, open-vent safety glasses do not provide complete protection. Opt for goggles that keep mold spores away from your eyes.
It’s also crucial to consider who is present during cleanup. People with allergies, immune suppression, or lung conditions should stay away from the area. If mold growth is extensive or affects structural materials, hiring a qualified professional is the best course of action.
“Your health should come first when dealing with mold in your living space.”
Gather Supplies and Choose a Suitable Cleaner
Cleaning up any growth requires the right supplies and knowledge about safe products. Start by gathering essential items. You will need detergent, water, disposable rags, a sponge, a stiff brush for hard surfaces, and a garbage bag. Also, ensure you have clean protective equipment ready.
Before you begin cleaning, it’s crucial to open windows or doors for fresh air. The CDC recommends this to reduce inhalation of harmful fumes from cleaning products. When using a bleach solution, remember: never exceed one cup of bleach per gallon of water. Always follow the product label for safety.
Never mix bleach with ammonia or vinegar. Doing so can create toxic fumes, which can be dangerous. Instead, consider using vinegar for surfaces like wood or recently painted areas. It’s effective against mildew and safe for certain surfaces.
| Cleaning Product | Usage | Safety Tips |
|---|---|---|
| Bleach | Effective on hard surfaces | Mix with water only; do not combine with ammonia |
| Vinegar | Great for mildew | Safe on wood; avoid mixing with bleach |
| Detergent | General cleaning | Follow instructions on the label |
How to Remove Mold From Your Home Step by Step
Before you start cleaning, tackling the root cause of moisture is crucial for effective mold management. The Home Depot emphasizes that fixing the source of moisture is the only way to prevent mold from returning. Address any leaks, flooding, or condensation issues first.
For small affected areas on hard surfaces, gently scrub with a mixture of detergent and water. Follow the product directions for any approved cleaner. If suitable, apply vinegar directly to the surface, allowing it to sit for one hour before scrubbing and rinsing.
Be careful not to saturate walls or porous materials, as excess water can create another moisture problem. After cleaning, ensure the entire area is dried completely. Use ventilation, a fan, or a dehumidifier before replacing belongings or repainting.
Clean Mold From Walls and Other Household Surfaces
Tackling contamination on walls and surfaces can significantly improve your living space. When dealing with drywall and other porous materials, it’s important to use gentle methods. Aggressive scrubbing can cause further damage.
The Home Depot recommends using a wrung-out cloth with a suitable cleaning solution. For walls with minimal growth, carefully remove the surface layer, wipe with a cleaner, and rinse with a separate damp cloth.
After cleaning, inspect all areas, including ceilings and insulation. You may need to replace very porous ceiling tiles or rotten wood that cannot be adequately cleaned. If you notice extensive damage, it might be safer to seek professional help.
- On drywall, use a cloth instead of a brush to avoid damage.
- Gently clean sound walls with minimal growth.
- Inspect materials after cleaning for any remaining contamination.
- Replace materials that cannot be fully cleaned.
- For large affected areas, consider professional removal.
| Material | Action | Notes |
|---|---|---|
| Drywall | Clean gently | Use a cloth with a suitable solution |
| Ceiling Tiles | Replace if porous | Very porous tiles may not be cleanable |
| Wood | Replace if rotten | Do not leave damaged wood in place |
Bag Debris and Clean Up After Mold Removal
After addressing mold, proper cleanup is essential to ensure your home remains safe. The Home Depot recommends sealing used rags, disposable gloves, and other contaminated materials in a sturdy bag right after the cleaning process.
Be sure to seal the bag tightly before carrying it through your home. This helps prevent mold spores and loose particles from spreading into clean areas. Once you finish, wash your work clothes separately in hot water to keep them away from other laundry.
For reusable tools, such as brushes, soak them in a bleach solution for one hour. Rinse them thoroughly and allow them to dry completely. Additionally, clean safety equipment with hot water and soap or rubbing alcohol before storing.
- Place used rags and contaminated coverings into a sturdy bag immediately.
- Seal the bag before carrying it through the house.
- Wash work clothes separately in hot water as soon as possible.
- Clean reusable tools with hot water and soap or rubbing alcohol.
- Soak brushes in a bleach solution for one hour, then rinse thoroughly.
“Effective cleanup is as important as the removal process itself.”
Fix Moisture Problems to Prevent Mold Growth
Moisture issues in your home can lead to persistent mold growth if not addressed promptly. It’s vital to tackle these problems to maintain a healthy environment. Start by fixing leaks and improving ventilation throughout your space.
Exhaust fans are essential in areas like bathrooms and kitchens. They help remove humid air, especially during showers and cooking. The Home Depot suggests installing these fans to enhance airflow and keep moisture levels in check.
Another effective solution is using a dehumidifier. Running one can significantly lower indoor moisture levels. Sherwin-Williams recommends keeping indoor humidity below 60% to prevent mold from returning.
- Repair plumbing leaks, roof failures, and condensation issues quickly.
- Run exhaust fans during showers, dishwashing, and cooking.
- Operate a dehumidifier to maintain recommended humidity levels.
- Keep damp areas dry by improving airflow and removing standing water.
- Inspect gutters and downspouts to ensure proper drainage away from your home.
Conclusion
Keep your home safer with a clear plan: spot visible mold, check for water damage, and decide if each material can be cleaned. During cleanup, wear an N95 respirator, gloves, and sealed goggles.
Choose cleaners that suit the surface; never mix bleach with ammonia. Dry each area fully, and replace porous items that remain damaged. Fix the moisture source, improve airflow in your home, and keep indoor humidity below 60% to help prevent the problem from returning.
Use a suitable cleaner, and check product labels before trying vinegar. The CDC and The Home Depot share practical tips for a safer home. For bathroom advice, read our bathroom mold removal guide. Store cleaners safely, and follow each step in the cleanup process to protect your house.