Did you know that about 50% of US homes face mold issues at some point, often after flooding? This fact shows how urgent it is to clean up mold after a flood. Floodwaters can bring health risks and damage to structures. This guide will help you with a detailed DIY mold cleanup process. It’s all about making your home safer and healthier.
Whether you’re dealing with flood recovery or emergency mold cleanup, knowing these steps is key. It helps protect your home and your health.
Key Takeaways
- Mold growth can take as little as 24 to 48 hours after flooding.
- Health risks associated with mold exposure include respiratory issues and allergic reactions.
- Gather the necessary supplies early to prepare for effective DIY mold cleanup.
- Regular inspections post-cleanup help prevent future mold infestations.
- Utilize moisture meters to accurately assess the extent of damage.
- Immediate action is critical for successful flood recovery and mold prevention.
Understanding Mold Growth After Flooding
Flooding creates a perfect environment for mold to grow. The extra moisture is all it needs to start spreading quickly. This can happen in just 24 to 48 hours, making it urgent to stop mold growth.
How Flooding Creates the Perfect Environment for Mold
When water floods homes, it soaks into surfaces. This creates a humid environment that mold loves. Places like behind walls or under carpets become ideal for mold to grow. It’s key to find and fix the moisture to avoid health problems.
Common Types of Mold to Watch For
After flooding, several mold types can appear. Each one poses different health risks. Here are some common ones:
| Type of Mold | Description | Health Risks |
|---|---|---|
| Stachybotrys (Black Mold) | Dense, dark green or black colonies | Respiratory issues, headaches, fatigue |
| Aspergillus | Can vary in color, often found in water-damaged materials | Allergic reactions, respiratory symptoms |
| Cladosporium | Green or black mold growth on wood and fabrics | Asthma attacks, skin irritations |
Symptoms of Mold Exposure
Mold exposure can cause health problems, more so for those with existing conditions. Common symptoms include:
- Coughing and sneezing
- Nasal congestion and runny nose
- Itchy or watery eyes
- Skin rashes
Spotting these symptoms early is vital. It helps get medical help quickly and avoid worse issues.
Initial Steps for Mold Cleanup
Before starting mold cleanup, safety comes first. I need to protect myself from harmful spores and toxins. Using the right personal protective equipment is key. Having the right supplies is also important to do the job well.
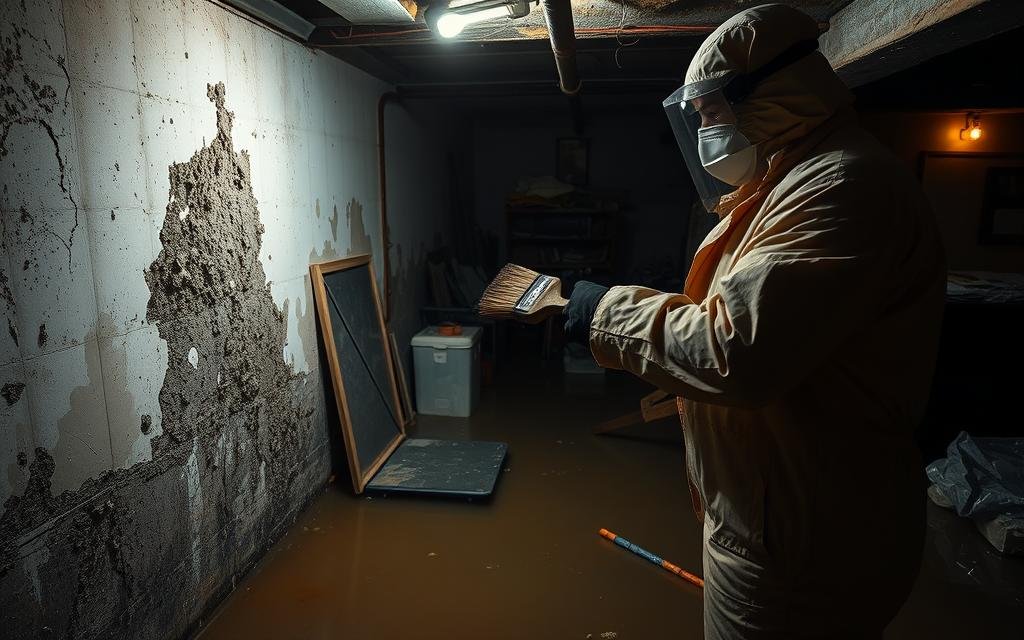
Safety Precautions I Should Take
When getting ready for mold cleanup, I take certain steps. I wear an N95 respirator to avoid breathing in mold spores. Protective eyewear keeps my eyes safe from cleaning solutions and mold particles. Gloves, along with long sleeves and pants, protect me from exposure.
It’s also important to have good ventilation. I open windows and use fans to keep the area well-aired. This helps avoid harmful fumes.
Gathering Essential Mold Cleanup Supplies
The next step is to get all the necessary supplies. This ensures a thorough and safe cleanup. Essential supplies include:
- Soap and water for initial cleaning.
- HEPA vacuums to capture fine mold spores.
- Dehumidifiers to reduce moisture levels.
Having these items ready lets me clean with confidence. For more help and steps, I can look at this handbook.
| Safety Equipment | Description |
|---|---|
| N95 Respirator | Protects against inhalation of mold spores and dust. |
| Goggles | Prevents mold or cleaning solution from irritating the eyes. |
| Gloves | Protects hands from irritation and contaminants. |
| Protective Clothing | Keeps skin safe from mold and harmful chemicals. |
Assessing the Damage
It’s key to know how much mold there is to clean it up right. Sometimes, mold is hidden behind walls or under floors. A detailed mold damage check is needed to fix the problem fast and stop it from spreading.
How to Identify the Extent of Mold Growth
I start by looking closely at places mold often grows. This includes basements, bathrooms, and near water. If I see any color changes or damp spots, I dig deeper. Taking pictures helps me document what I find.
Using Moisture Meters for Evaluation
Moisture meters are super helpful in finding mold. They show where there’s hidden moisture, helping me find mold before it’s seen. This tool is key in keeping my home mold-free.
When to Call a Professional
If mold covers more than 10 square feet or is hard to find, I call the pros. Experts have the skills and tools to handle tough mold jobs. They make sure everything is cleaned up right and find any hidden problems. Getting help saves me time and money by doing the job right.
DIY Mold Removal Techniques
When dealing with mold after a flood, using DIY techniques is key. Each method targets different areas for a complete clean. I’ll look at using bleach and vinegar, and how to clean carpets and upholstery.
Cleaning Surfaces with Bleach and Water
Bleach is a popular choice for mold removal. Mix one cup of bleach with a gallon of water for non-porous surfaces like tiles and glass. This solution kills mold spores well.
I use a sponge or cloth to apply it, wearing gloves and a mask for safety. But, bleach is not good for porous materials. It might not work and could make things worse.
Using Vinegar as a Natural Mold Cleaner
Vinegar is a great natural option for mold. Spraying undiluted white vinegar can kill about 82% of mold species. Let it sit for at least an hour before cleaning.
This method is safe for many surfaces, including wood. It’s also safe for homes with kids and pets.
Special Techniques for Carpets and Upholstery
Cleaning carpets after a flood needs special care. If the carpet is badly damaged, it might be best to replace it. But, if it’s not too bad, you can use vinegar.
Just spray vinegar on the moldy spots and blot with a clean cloth. Make sure to dry it well to stop mold from coming back. Using a dehumidifier helps remove moisture that mold needs to grow.
Preventing Future Mold Growth
Being proactive can greatly lower the chance of mold in my home after a flood. It’s key to use mold prevention tips to keep my home healthy.
Importance of Proper Ventilation
Good ventilation is vital in fighting mold. It boosts air flow and cuts down humidity, where mold loves to grow. I make sure to use exhaust fans in wet areas like bathrooms and kitchens. Also, opening windows lets in fresh air, improving air quality.
Techniques for Reducing Humidity Levels
Using methods to lower humidity can really help prevent mold. Dehumidifiers in damp places like basements can keep humidity under 60%. Keeping vents open and checking for leaks stops moisture buildup, which is key for a mold-free home. For more tips, I look at this guide.
Regular Inspections: What to Look For
Regular checks for mold are important to keep my home safe. I look closely at areas like the attic, basement, and behind appliances for moisture or mold. Spotting problems early helps stop mold from spreading. If I see color changes or a musty smell, it’s time to act.
Resources for Further Assistance
When dealing with mold after a flood, the right resources are key. Local mold remediation services offer tailored advice based on your situation. They help ensure my cleanup is safe and effective, reducing the risk of mold exposure.
Local Mold Remediation Services
Local mold services are a big help. They know how to assess damage and suggest solutions I might not think of. This gives me peace of mind, knowing they can tackle mold problems well.
Online Support Communities and Guides
Online support for mold cleanup is also very helpful. Forums and social media groups let me connect with others who’ve dealt with mold. We share tips and experiences, which helps a lot during the cleanup.
Government Resources on Flood Recovery
Government flood recovery resources are also important. They provide detailed info on procedures and safety after a flood. These resources help me understand my rights and the help available during mold remediation. Using all these resources helps me create a safer home.