When you’re considering a new home, it’s crucial to be aware of potential hidden problems. One of the most significant issues can be hidden moisture, which may lead to costly repairs later on. This guide will help you understand the importance of a thorough examination of your future home.
According to the Molekule Insights Team, most inspections range from $300 to $700, with a national average around $650. Investing in an inspection can save you from unexpected repair costs down the line.
It’s important to note that while a standard home check may identify visible signs, it often misses hidden issues behind walls or under floors. This guide will connect musty odors, water history, and health concerns to practical decisions regarding further inspections.
By scheduling testing during a contingency period, you can use the findings to negotiate repairs or price adjustments before closing the deal. Understanding these aspects will empower you to make informed choices about your investment.
Key Takeaways
- Investing in a separate inspection can protect your investment.
- Typical inspection costs range from $300 to $700.
- Standard home checks may miss hidden issues.
- Musty odors and discoloration can indicate deeper problems.
- Schedule testing during a contingency period for better negotiations.
Mold Inspection Before Buying House: Why a Separate Assessment Matters
As you navigate the home-buying process, recognizing hidden concerns can save you from future headaches. A standard home inspection is a great starting point, but it has its limitations. While it generally identifies visible mold, water stains, and accessible moisture issues, it often misses hidden growth.
Standard inspection agreements typically exclude crucial elements like species analysis and wall-cavity access. This means that even if an inspector documents a brown stain in the basement, they may not fully assess the underlying issues. As a result, a clean-looking surface doesn’t guarantee the absence of problems.
“The EPA does not publish a residential safe level for airborne mold spores.”
Given this uncertainty, a separate assessment is essential. It provides targeted information that a general report simply cannot deliver. By understanding the potential risks, you can make informed decisions before finalizing your real estate contract.
- A standard home inspection reviews accessible structural components but usually doesn’t open walls.
- Visible growth or water stains should prompt a recommendation for a specialist.
- Hidden growth can linger behind walls, meaning appearances can be deceiving.
- The absence of an EPA airborne mold threshold highlights the importance of thorough assessments.
- A dedicated evaluation can reveal critical insights into your potential new home.
When to Schedule a Mold Inspection During Your Home Purchase
As you embark on the journey of purchasing a new property, it’s vital to identify any hidden issues. Certain warning signs in the inspection report or seller disclosures can indicate a need for further examination.
For instance, if the report mentions visible growth, persistent humidity, or plumbing leaks, it’s time to schedule a follow-up. Similarly, if the seller discloses any past water damage, like a slab leak or HVAC overflow, testing is justified even if surfaces appear clean.
Vacant homes often lack proper ventilation, leading to increased humidity and condensation, especially during Philadelphia’s humid summers. Recent renovations in areas like basements, attics, or bathrooms also warrant caution, as they may hide moisture-control mistakes.
Lastly, if anyone in your household has health concerns such as asthma or mold sensitivity, the rationale for testing becomes even stronger. In such cases, ensuring a safe environment outweighs the costs of further assessments.
| Warning Signs | Recommended Action |
|---|---|
| Visible growth or stains | Schedule a mold inspection |
| Persistent humidity | Consider mold testing |
| Seller disclosures of past leaks | Request a follow-up assessment |
| Recent renovations | Investigate moisture issues |
| Health concerns in household | Prioritize mold testing |
What a Mold Inspector Checks in Your New Home
As you prepare to move into a new property, understanding potential moisture issues is essential. A qualified inspector will conduct a thorough examination of various areas prone to moisture accumulation.
Inspectors typically check:
- The basement, bathrooms, kitchen, and laundry areas for signs of dampness.
- Moisture readings using specialized meters to identify hidden issues.
- Ventilation systems and plumbing for any possible leaks or condensation problems.
- Walls and ceilings for visible growth or stains that may indicate deeper concerns.
- Overall grading and drainage around the property to prevent water pooling.
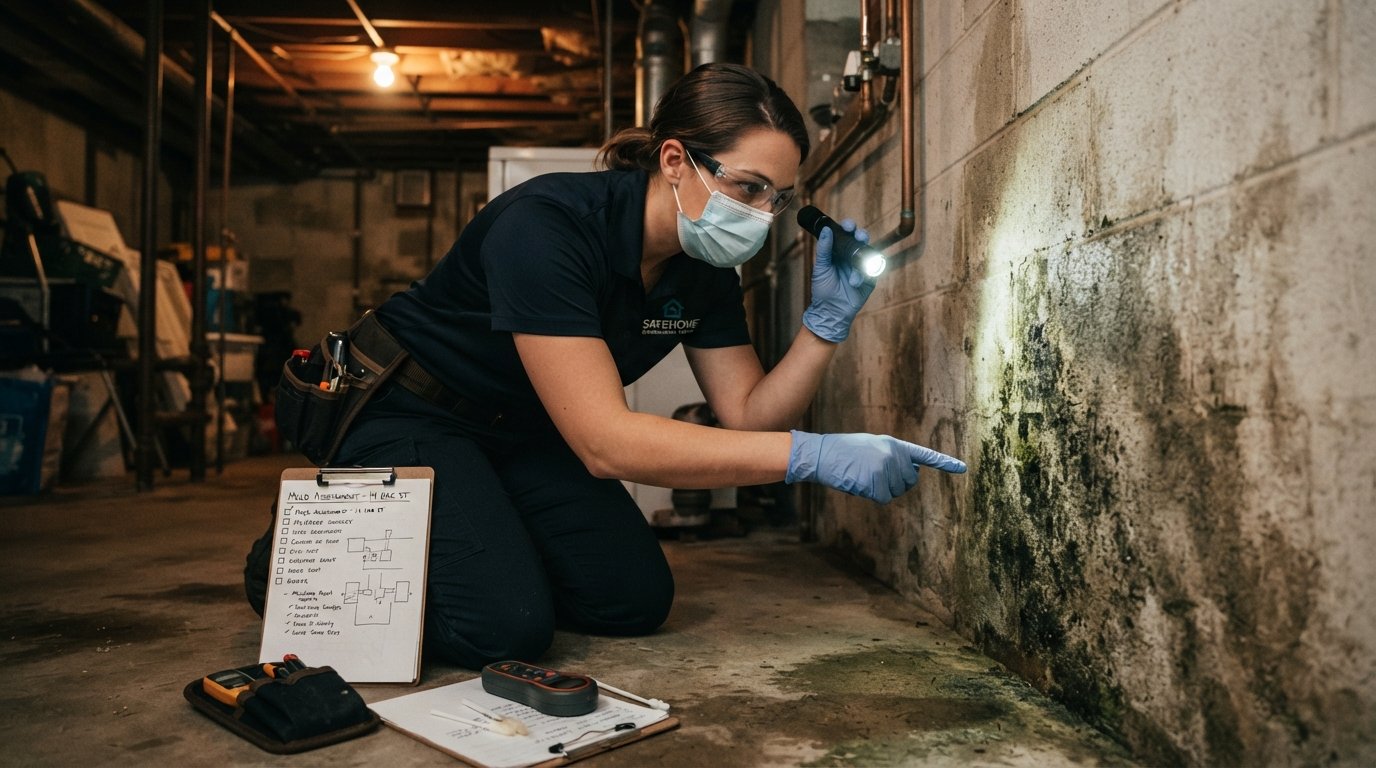
To uncover inaccessible mold, inspectors may need to open drywall or remove paneling. They utilize tools like flashlights and cameras to document conditions that a simple walkthrough might miss.
The final written assessment will include locations of concern, photographs, moisture readings, and recommendations for next steps. This comprehensive approach ensures you have a clear understanding of your new home’s condition.
Mold Inspection vs. Mold Testing: Know What You’re Paying For
Being aware of potential hidden issues is essential when looking for your next home. It’s important to understand how an inspection differs from testing. An inspection evaluates visible growth, moisture, and building conditions, while testing analyzes air or surface samples.
Results from air and surface samples need context. Normal outdoor spores can enter homes, and indoor counts vary with seasons and ventilation. The EPA generally advises against sampling when visible growth is already present, as the need for remediation is clear.
DIY kits, like petri-dish tests, often grow something but can’t pinpoint a colony or compare indoor levels to outdoor controls. Instead of spending money on these kits, consider investing in a professional evaluation. This will provide a defensible report that can be useful in negotiations with sellers.
How to Choose a Qualified, Independent Mold Inspector
Choosing the right expert to evaluate your property can save you from unexpected issues later. It’s essential to find someone who meets the necessary qualifications and operates independently. This ensures that you receive an unbiased assessment of your potential new home.
Start by checking credentials. Look for professionals who hold relevant certifications like IICRC AMRT, IAC2, or Certified Industrial Hygienist status. These credentials indicate a level of expertise that is crucial for accurate evaluations.
Next, verify state requirements. In places like New York, Texas, Florida, and Louisiana, mold work is regulated differently. Understanding these regulations can help you choose a qualified inspector.
It’s also wise to prefer an independent assessor. Avoid companies that offer both assessments and remediation services. This can reduce the incentive to exaggerate the size of a problem.
Finally, confirm that samples are sent to an accredited laboratory. Look for AIHA-LAP accreditation as a quality indicator. Before authorizing the assessment, request written pricing, sample counts, outdoor controls, and a complete report.
| Action | Details |
|---|---|
| Check Credentials | Look for IICRC AMRT, IAC2, or CIH certifications. |
| Verify State Requirements | Understand local regulations in your state. |
| Choose Independent Assessors | Avoid companies that also offer remediation services. |
| Confirm Lab Accreditation | Ensure the lab has AIHA-LAP accreditation. |
| Request Detailed Information | Ask for pricing, sample counts, and lab turnaround times. |
How Much a Mold Inspection Costs in 2026
Understanding the costs associated with a thorough examination of your potential new home is essential. In 2026, prices for these evaluations can vary based on several factors, including the size of the property and the extent of the inspection required.
For homes under 4,000 square feet, you can expect to budget approximately $300 to $400. If your property falls between 4,000 and 6,000 square feet, the cost typically ranges from $400 to $700. Larger properties, particularly those exceeding 6,000 square feet or requiring laboratory work, may see costs soar to $700 to $1,000 or more.
Additional factors can also influence the final quote. For instance, invasive inspections that involve accessing drywall or crawlspaces will increase the cost. The national average reported is around $650, but keep in mind that local contractor quotes can vary significantly.
| Property Size | Typical Cost |
|---|---|
| Under 4,000 sq ft | $300 – $400 |
| 4,000 – 6,000 sq ft | $400 – $700 |
| Over 6,000 sq ft | $700 – $1,000+ |
| Invasive Inspections | Additional costs apply |
| National Average | Approximately $650 |
In summary, it’s wise to treat the average cost as a guideline rather than a fixed price. This ensures you are prepared for any unexpected expenses during the evaluation process. For more information on steps to take if you find issues, check out essential steps for a safe home.
How to Fit Mold Testing Into Your Inspection Contingency
Timing is key when planning your assessments during the home purchasing process. A typical purchase inspection contingency lasts between seven to ten calendar days. To maximize this time, aim to schedule your standard inspection during the first three days. This way, you can react promptly to any findings.
After receiving the report, decide within 24 hours if a follow-up assessment is needed. If there are indications of moisture, disclosures, or visible issues, this could be justified. Sample collection can take around 60 to 90 minutes, so plan to schedule this around days three to five of your contingency period.
Reserve days six through nine for laboratory results, written interpretations, and contractor estimates. This is also the time to prepare your negotiation request. If lab results will exceed your contingency deadline, ask your agent for a written extension, as seller approval is necessary.
| Action | Timing |
|---|---|
| Standard Inspection | Days 1-3 |
| Follow-up Assessment Decision | Within 24 hours of report |
| Sample Collection | Days 3-5 |
| Laboratory Results | Days 6-9 |
| Negotiation Request | Before contingency expires |
What to Do If Mold Is Found Before Closing
Uncovering moisture problems in your potential new home requires immediate attention and action. The first step is to address the source of the moisture. This could be a roof leak, plumbing failure, or drainage issue. If you clean without fixing these problems, the issue is likely to return.
For contamination exceeding 10 square feet, the EPA recommends hiring a professional remediation contractor. Handling this casually can lead to bigger issues down the line. While hard surfaces can often be cleaned, porous materials like carpet and foam tiles may need to be removed and replaced.
When negotiating with the seller, consider asking for a written repair credit or a remediation plan. Make sure this is supported by independent estimates rather than relying on verbal promises. Additionally, keep all documentation together, including the inspection report, laboratory findings, and contractor proposals. This will be invaluable for your agent and attorney.
Conclusion
A separate mold assessment can reveal moisture risks that a standard home inspection may miss. Stains, musty odors, past leaks, vacancy, renovations, or health concerns give you good reason to look closer.
Choose an independent professional with strong credentials and knowledge of state rules. Ask about accredited lab work and confirm the company does not sell cleanup services. Skip DIY petri dishes; results without context offer little guidance.
At roughly $300–$700 in 2026, an assessment may cost far less than major repairs. Schedule it within your contract contingency. Use the report and written estimates to seek a credit, request repairs, or reconsider the deal. Clear evidence helps you make a confident choice.